
こんにちは。クスビル【@xbuild00】です。
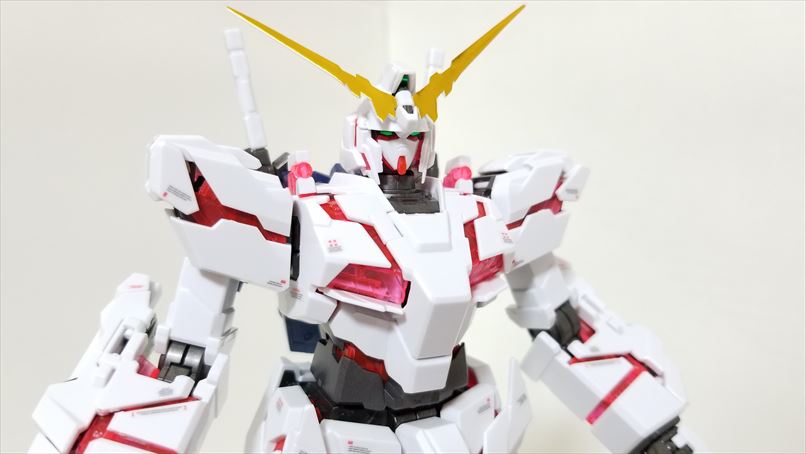
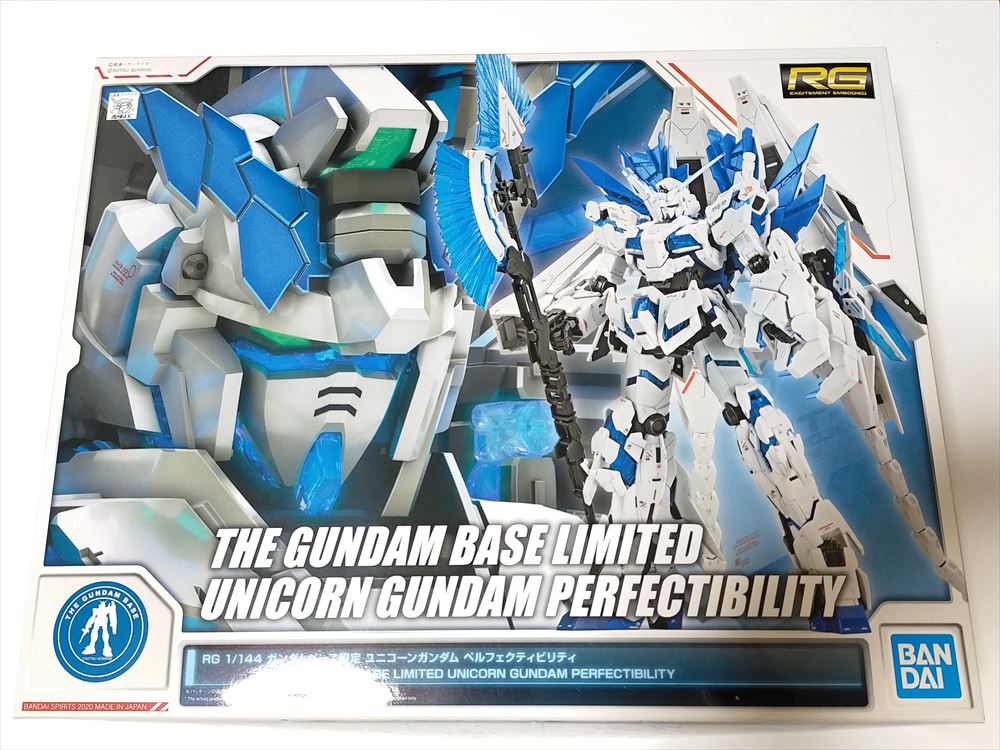
今回はRGユニコーンガンダムペルフェクティビリティとフルアーマーユニコーンガンダムを組み合わせてペルフェクティビリティ・ディバインを作っていきたいと思います。
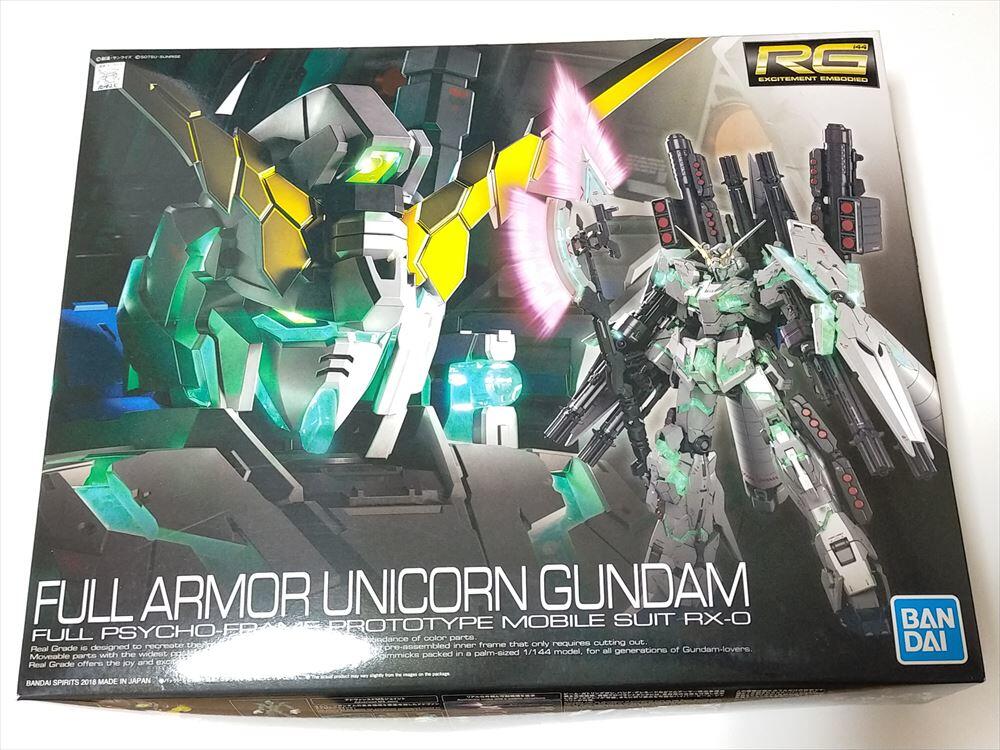
使用するガンプラ&素材
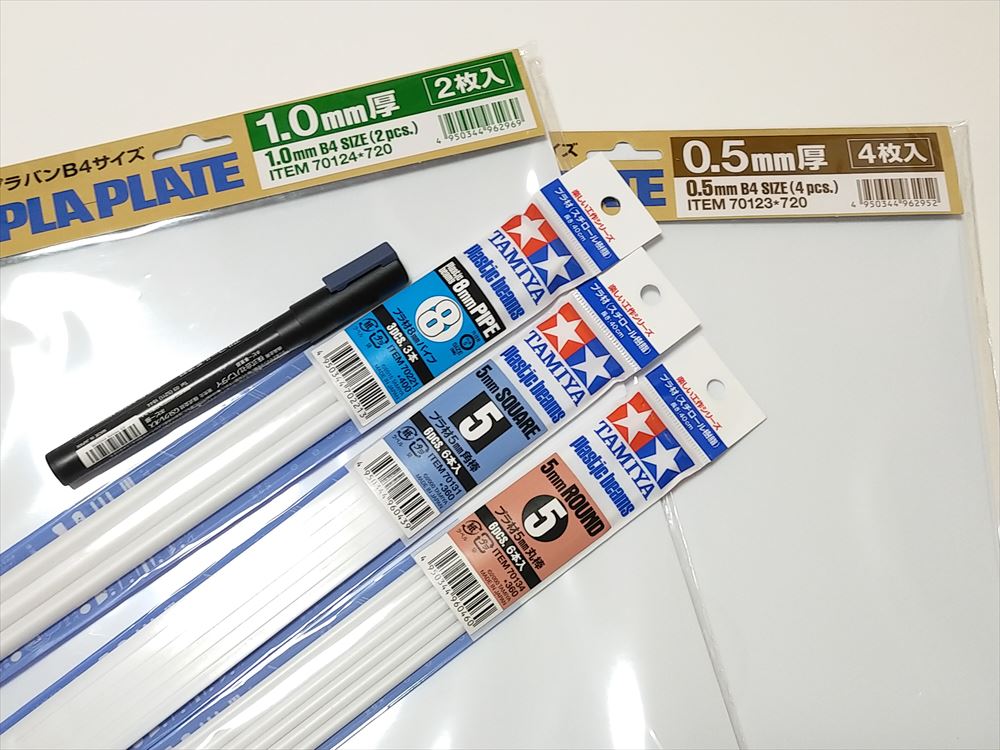
 クスビル
クスビルもとのパーツを極力削りたくないので追加の接続パーツをプラ素材で作っていきます
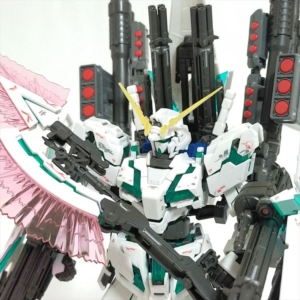
ちなみにペルフェクティビリティ・ディバインとは
試作を含めた増加サイコフレーム兵装アームド・アーマーシリーズ5種すべてを装備し、さらにフェネクスに採用されたスタビライザーを装着したペルフェクティビリティにフルアーマー・ユニコーンの装備を搭載した形態。
プレミアムバンダイより
ユニコーンガンダムペルフェクティビリティ・ディバイン組み立て動画

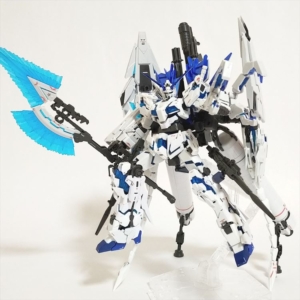
ユニコーンガンダムペルフェクティビリティ・ディバイン組み立て
ペルフェクティビリティは背中のアームド・アーマーDE用アームの付け根以外はそのまま使いたいのでそのまま組み立てます。
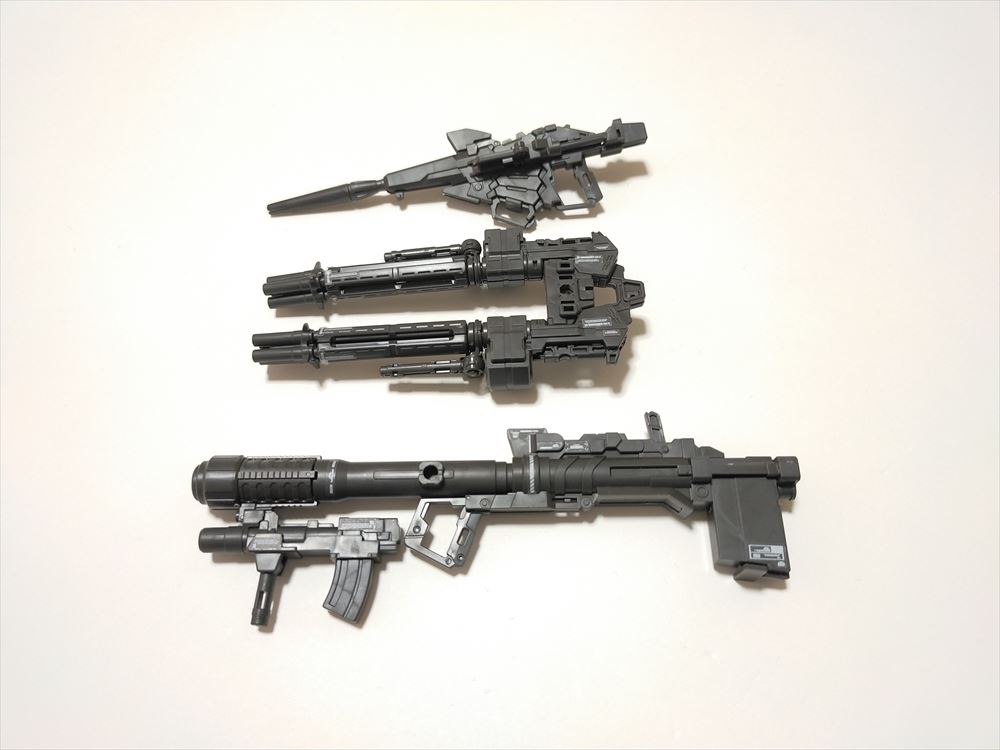
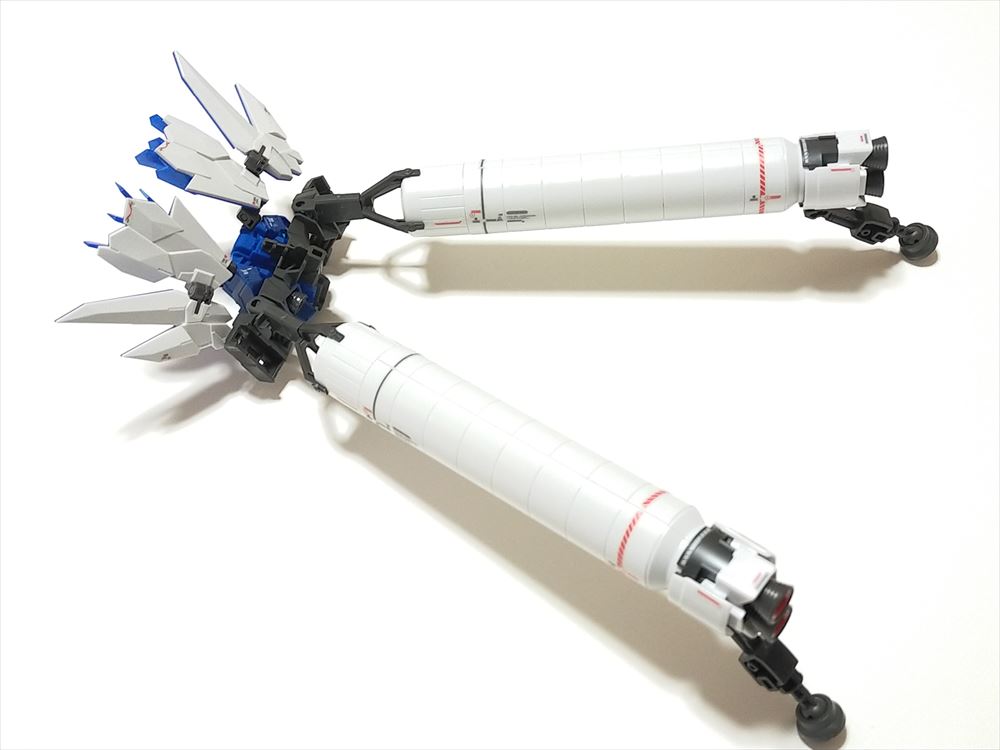
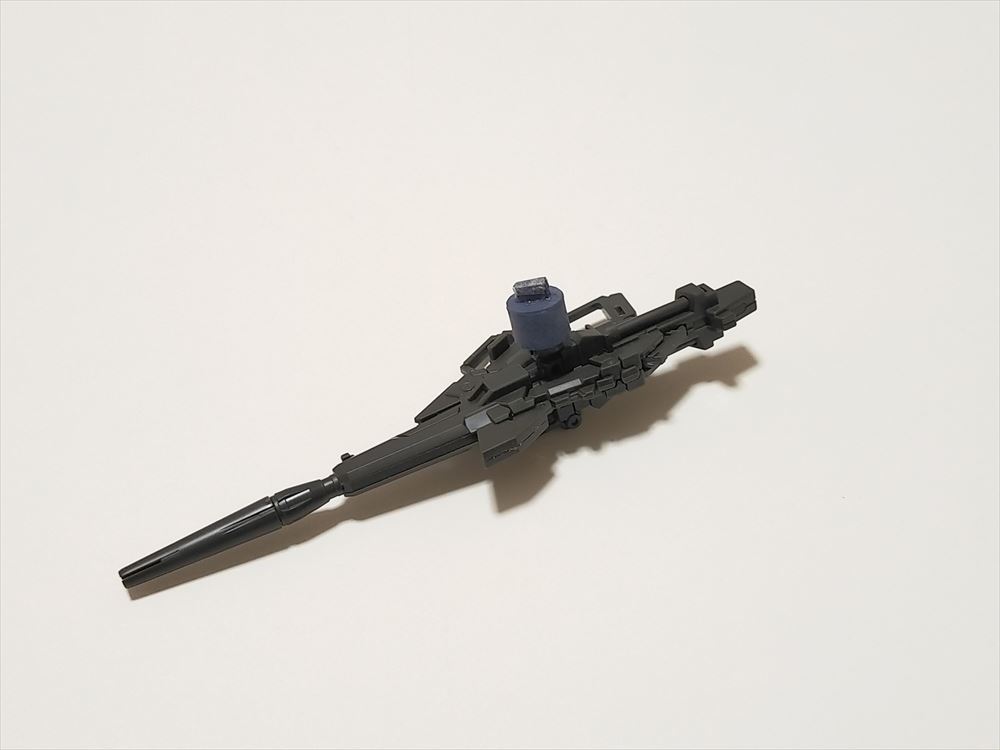
フルアーマーの方はビーム・ガトリングガン1セットとハイパーバズーカ&ビームマグナム、そして大型ブースター本体と取り付け用の追加パーツをそのまま使います。
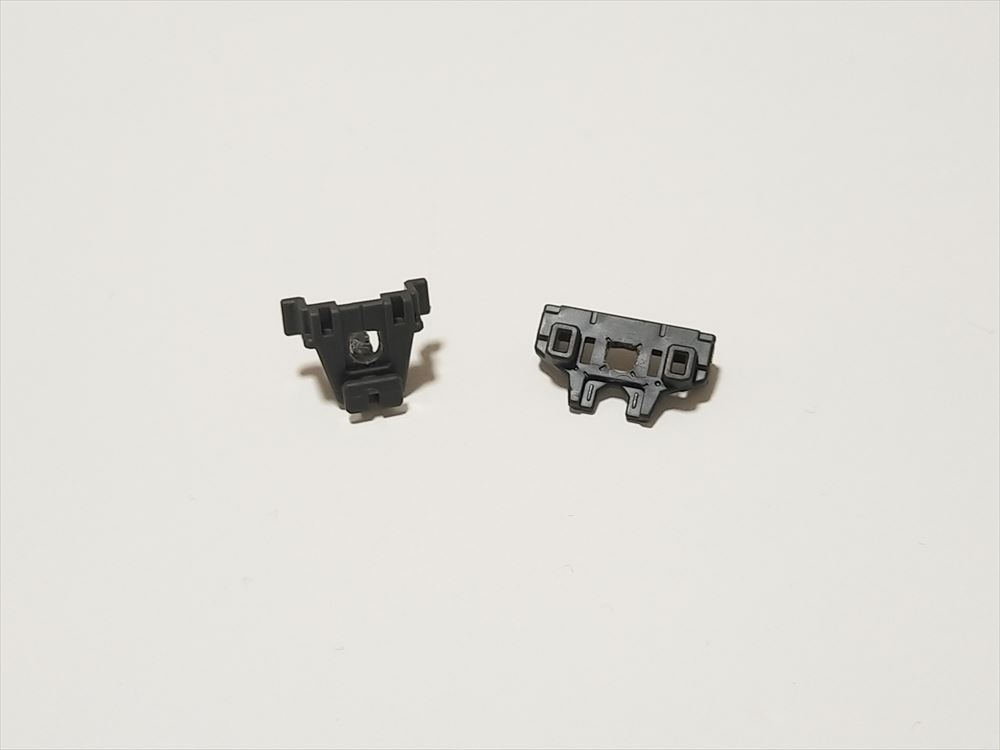
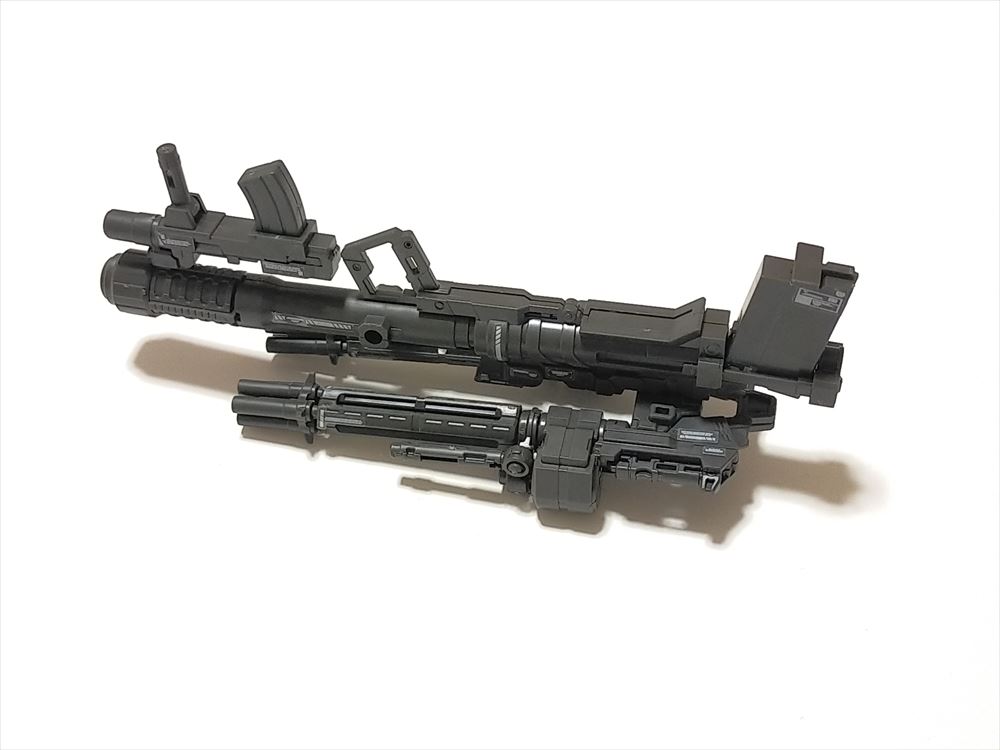
ビーム・ガトリングガンに直接バズーカを差し込めるようにもともとシールドファンネルを固定するための接続用パーツを加工します。
加工と言ってもやることは簡単でピンバイスで穴を大きくしてバズーカ側の差し込み棒の形に合わせてデザインナイフで形を合わせていきます。
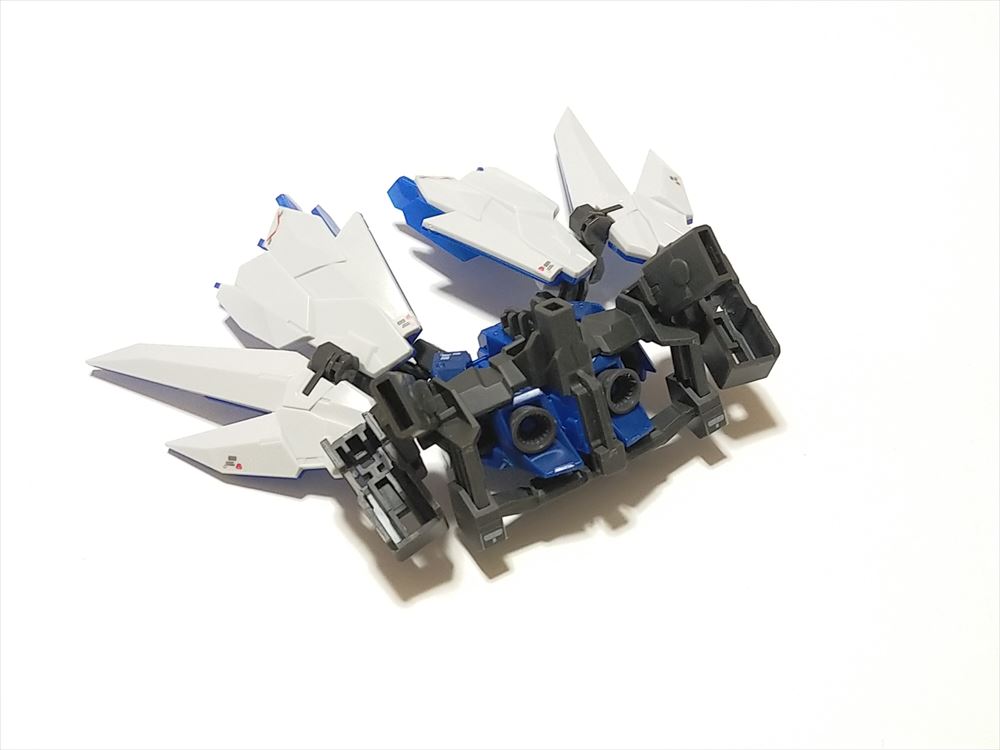
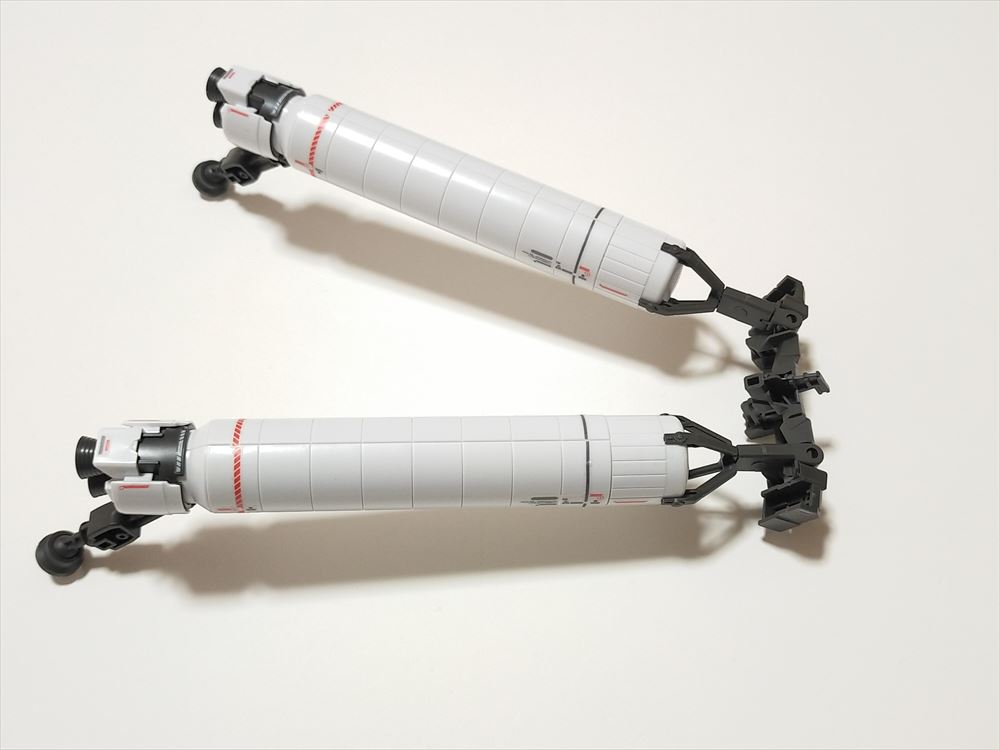
ペルフェクティビリティのバックパックにそのままフルアーマーの大型ブースター用の取付けパーツを接続。

アームド・アーマーDEのアームを大型ブースター用の取付けパーツに差し込むためのパーツを5㎜プラ棒と1㎜プラ板で新造。
白のままだと目立つのでガンダムマーカー【ガンダムメカグレー】で塗り、アームに差し込んで本来バズーカが収まるスペースに差し込みます。

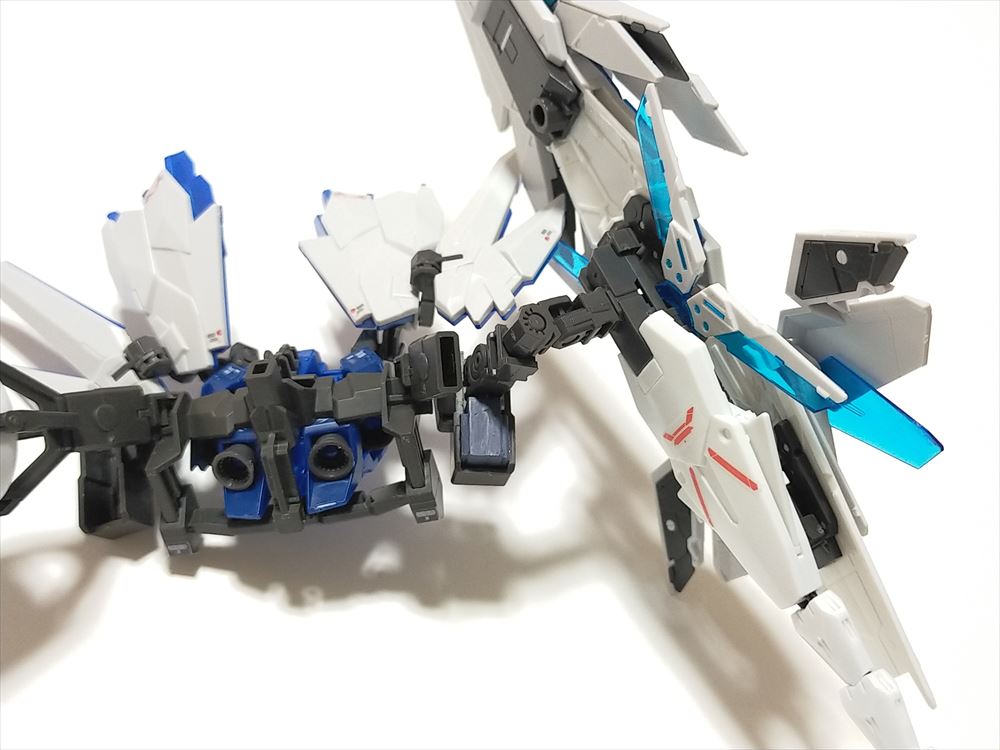
ディバインはよく見ると足元にビームマグナムをマウントしているので、プラパイプとプラ棒を使って接続用パーツを作ります。
まずは内部パーツの一部を切り取り接続用の穴を作ります。ちょうど外装に穴が開いた感じになりますね。
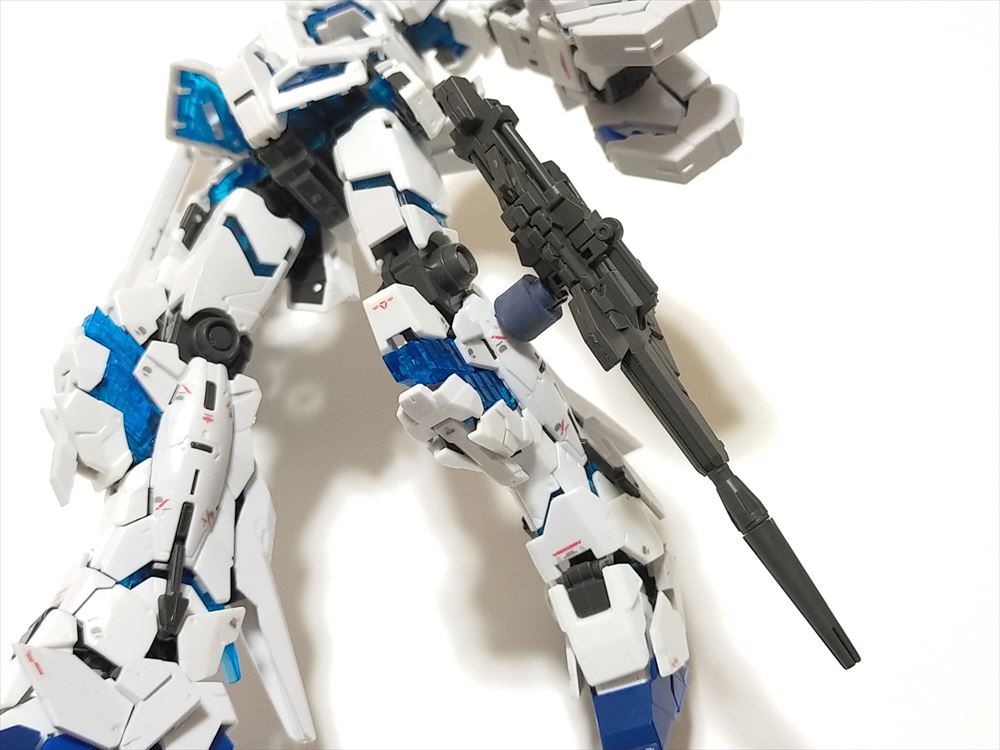
5㎜プラ棒をたてに割りパイプの中に入れ、ビームマグナムの接続部と同じ幅のすき間を開けてセメダインで固定。
あとはメカグレーで塗ってビームマグナムごと足に取り付ければ加工は完了です。
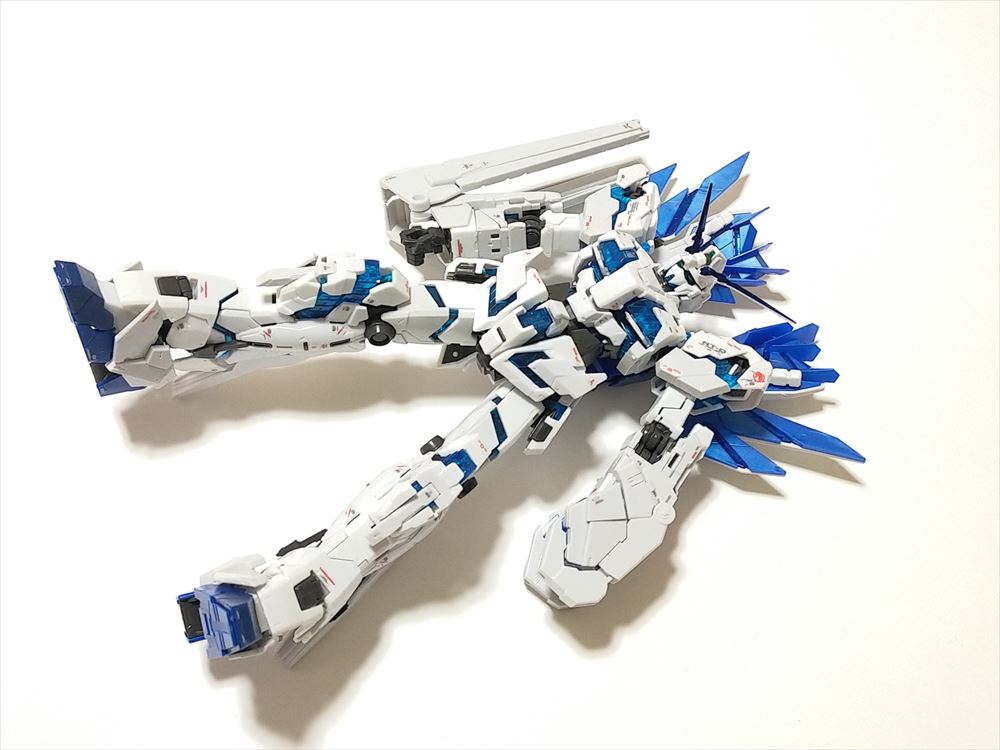
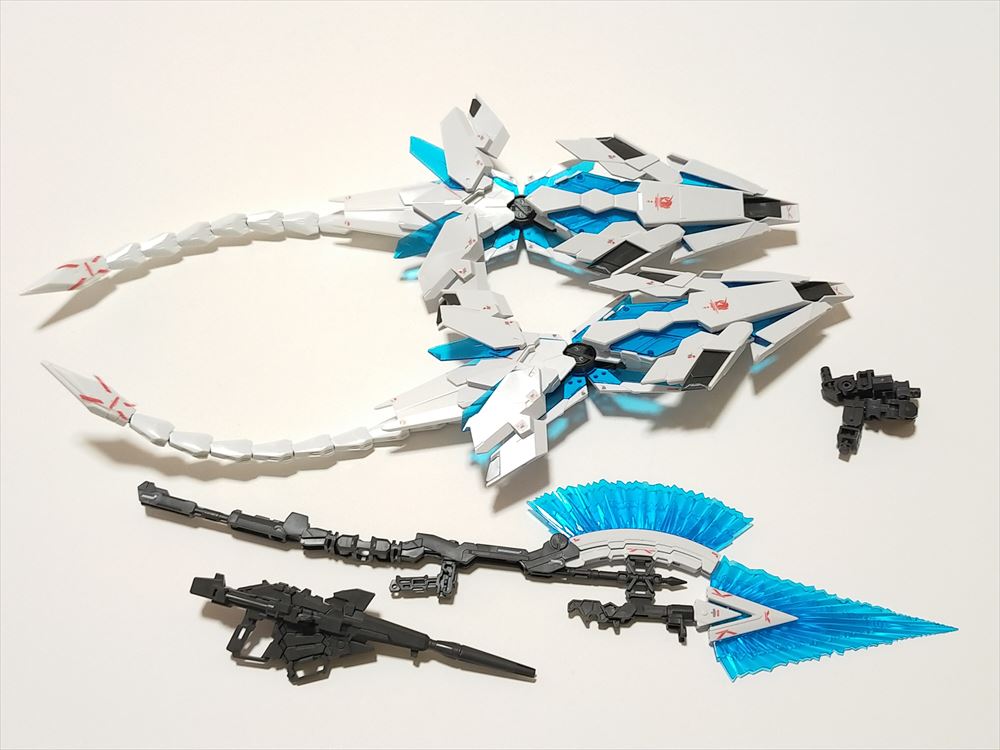
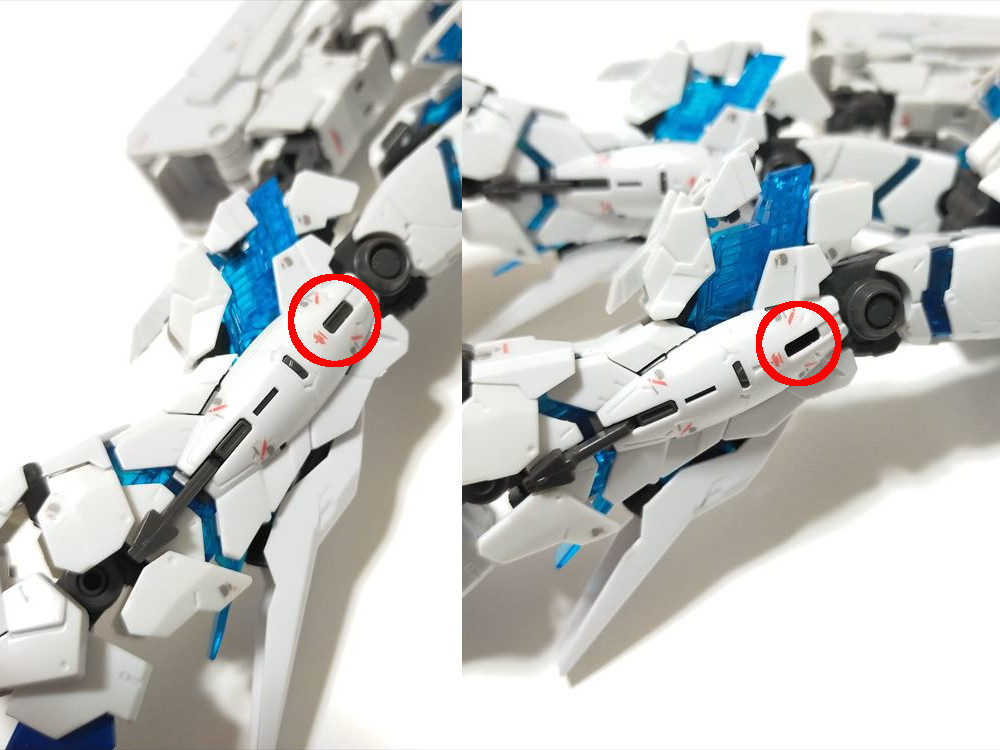
ユニコーンガンダムペルフェクティビリティ・ディバイン組み立て完了
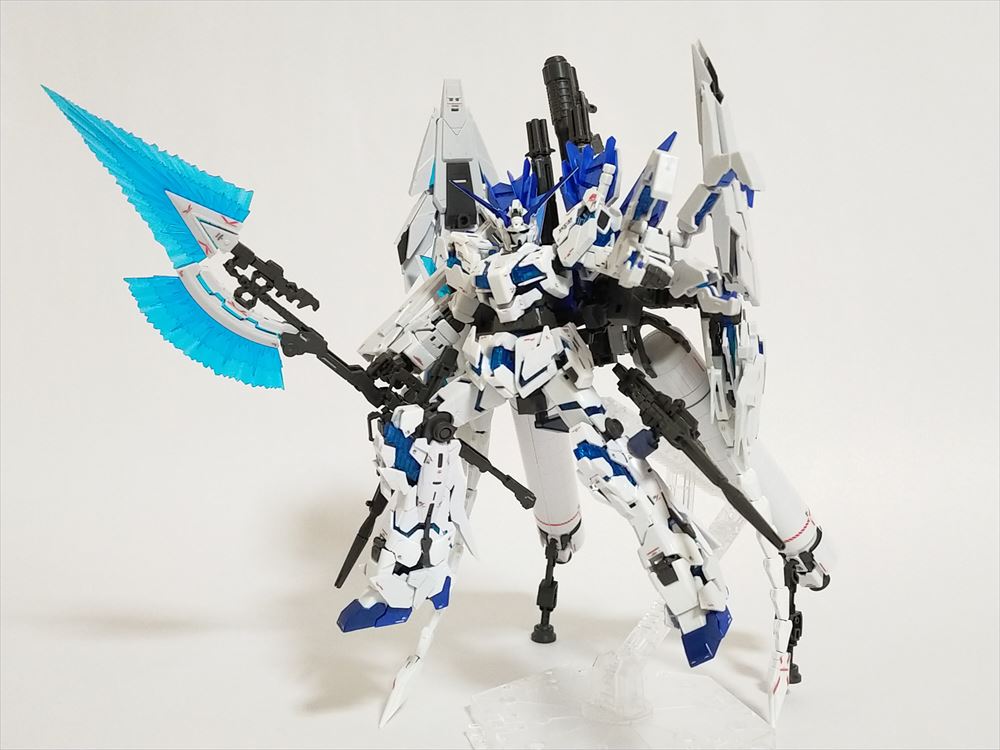
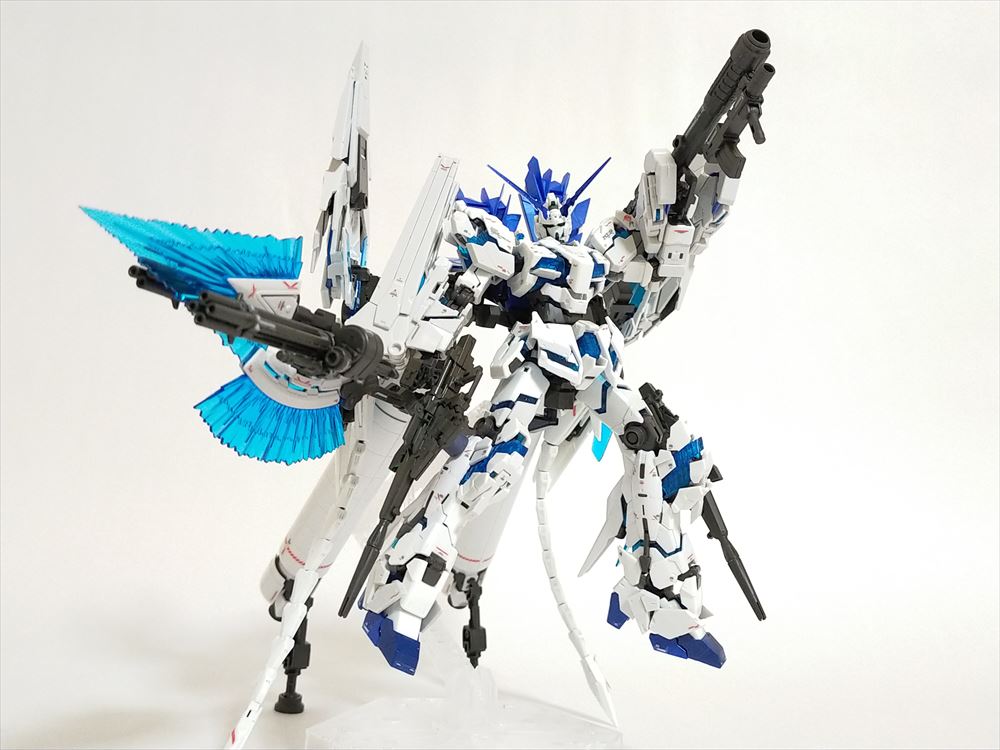
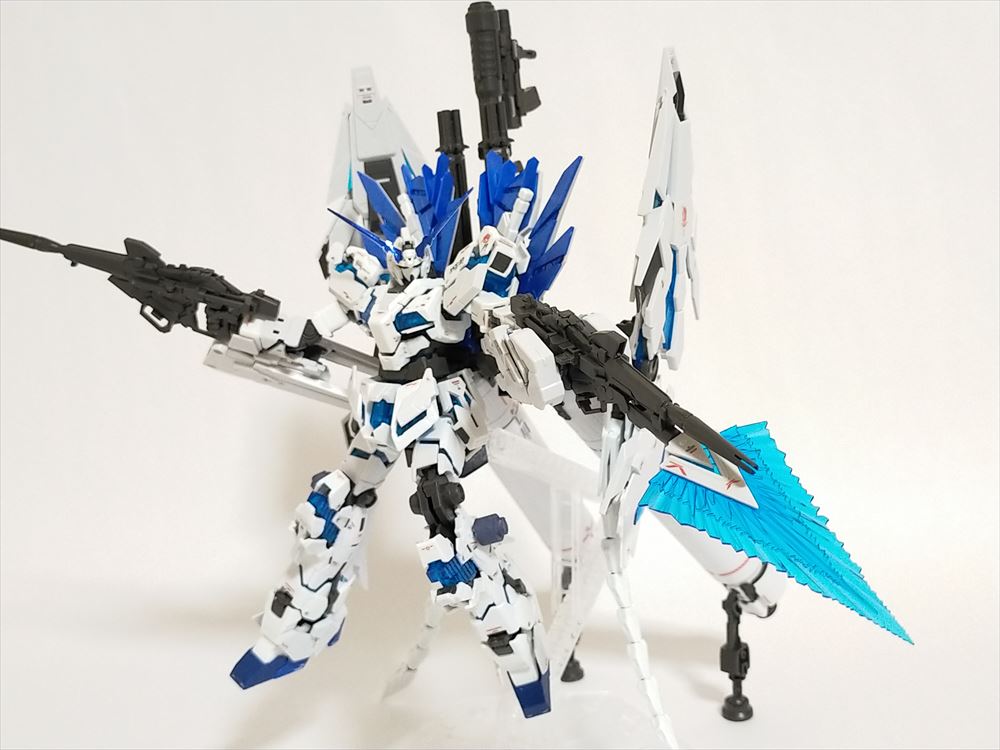

ほとんどのパーツがそのまま使えるので手軽に実行できるプランでロボット魂のペルフェクティビリティ・ディバインを再現してみました。
パーツを追加する形でまとめたのでペルフェクティビリティ、フルアーマーをそれぞれ復元できるところも大きな工夫点だったりします。
もともと思い付きから始めた加工でしたがカッコ良くできあがって大満足!
この記事があなたのお役に立てば幸いです。
最後まで見ていただきありがとうございました。